I (Oliver) grew up in Switzerland near the Alps, and I am used to gorgeous mountains. But I have to say the Cordillera Blanca is definitely near the top of the list of what I have seen in my life. It is one of the most magnificent mountain ranges in the world with 33 summits rising above 6000 meters.
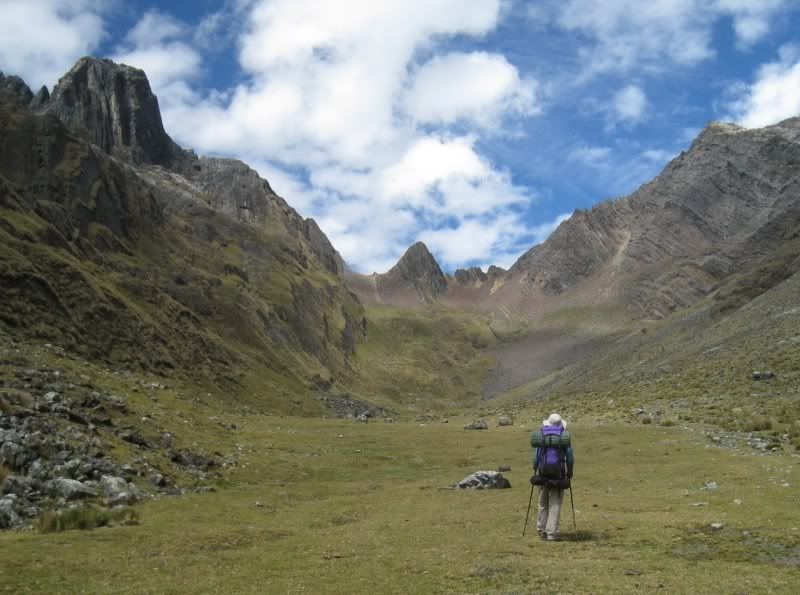
The Alpamayo (base camp) trek is a great, challenging high-altitude trek. The area is very remote and you have to cross multiple high passes. There are breath-taking vistas of glaciers and snow covered peaks.
Having spent quite a bit of time in the Cuzco area in May we would have been properly acclimatized. However, then we spent about 10 days on the coast in Nazca and in Lima with friends, so we pretty much lost all of that advantage. We took a bit of a chance when we spent only two nights in Huaraz before heading out on the trek in early June. But we figured we just take it easy during the first few days and it worked out for us.
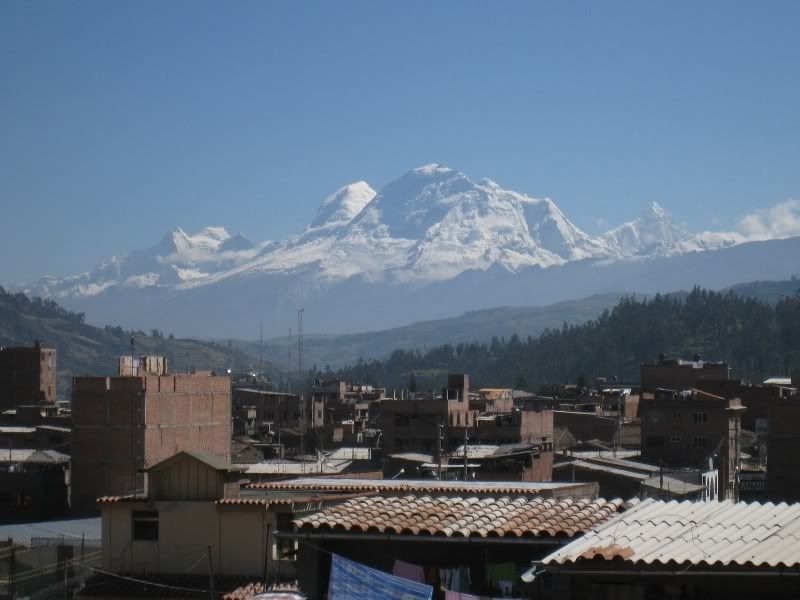
This mountain is Huascaran as seen from the terrace of our hotel in Huaraz. It is the highest mountain in Peru at 6768m and the fourth highest in South America. Huascaran gives its name to the Huascaran Nationalpark where Alpamayo is located.
Day 1: Hualcayan (3150m) to Jamacuna campsite (4000m) - 5 hours
We took a collectivo from Huaraz to Caraz and from there we went by taxi to Hualcayan. After paying the 5 soles per person to the small local community we were off on our way up the steep hill.
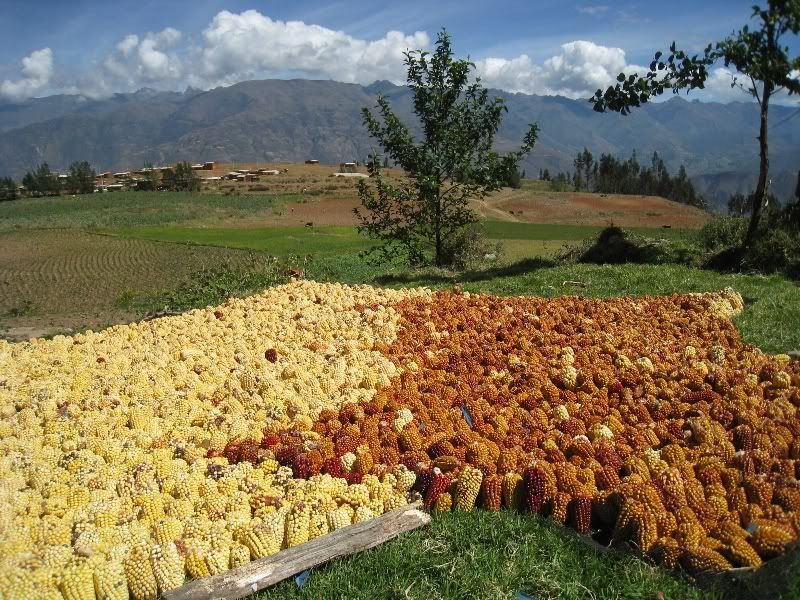
Here the corn is laid out to dry for the winter months.
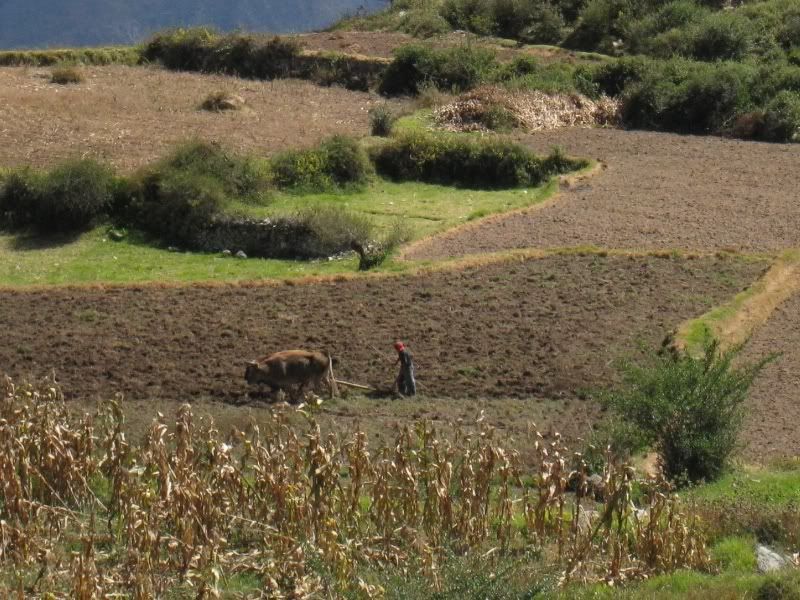
Almost all of the farming in Peru is done by manual labour or with the help of donkeys and oxen; like the ploughing here near Hualcayan.
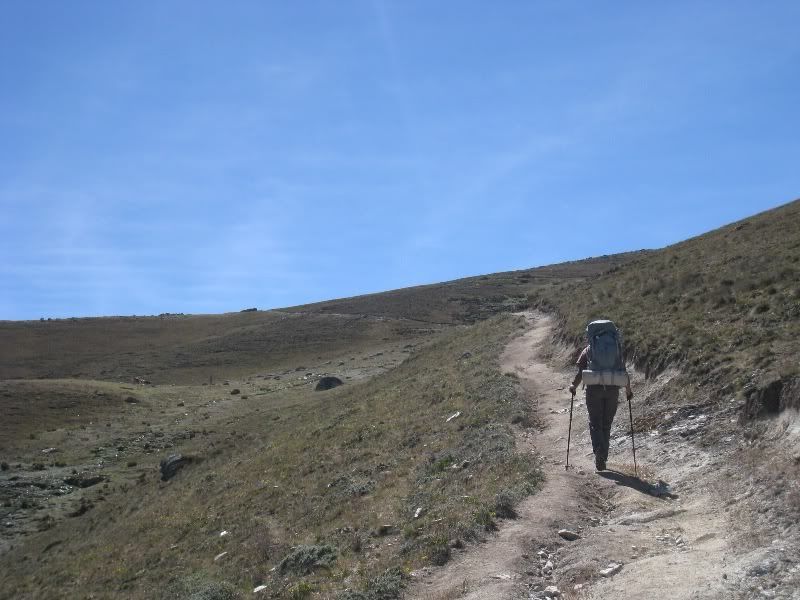
The first part of the trek is a brutal climb from 3150m up to the Osoruri Pass at 4860m. It just goes straight up the mountain. The fully loaded backpacks do their part to make you feel the altitude. We went without guides or donkeys and decided to break up this ascent over two days.
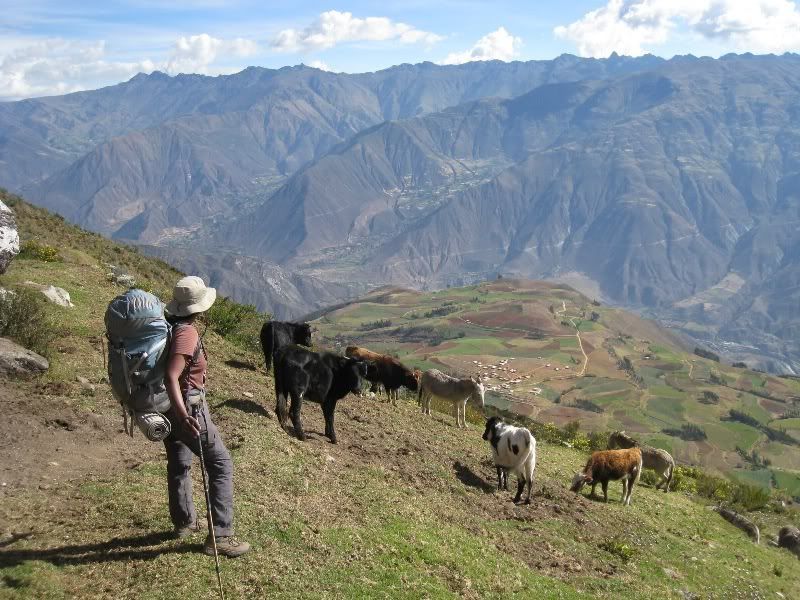
Here we are overlooking the valley of the Rio Santa with the village of Hualcayan at the bottom of the slope and the Cordillera Negra (to the east of the Cordillera Blanca) in the background.
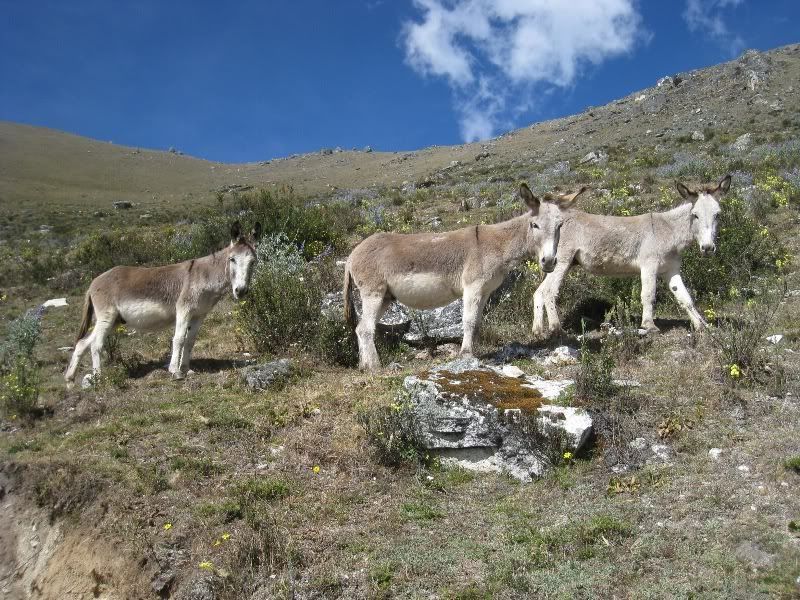
The cows, mules and donkeys can roam those slopes freely. These three donkeys were particularly interested in us.
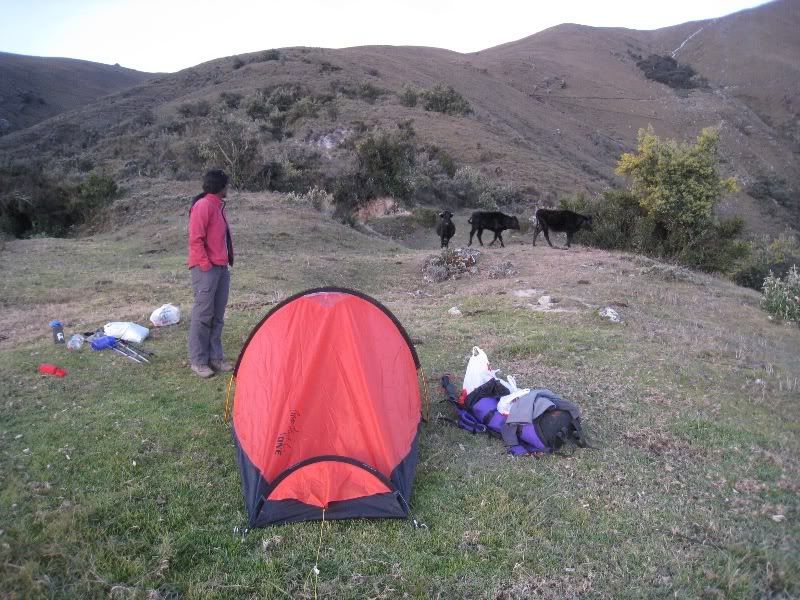
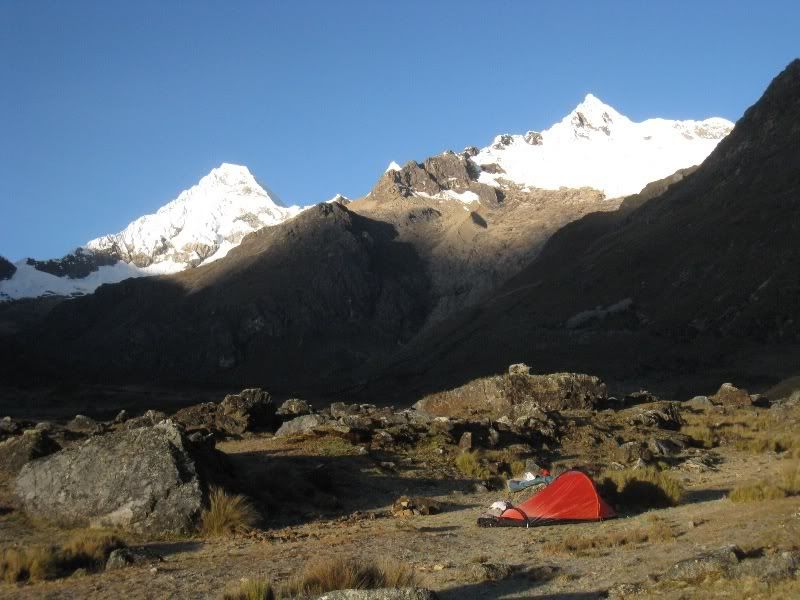
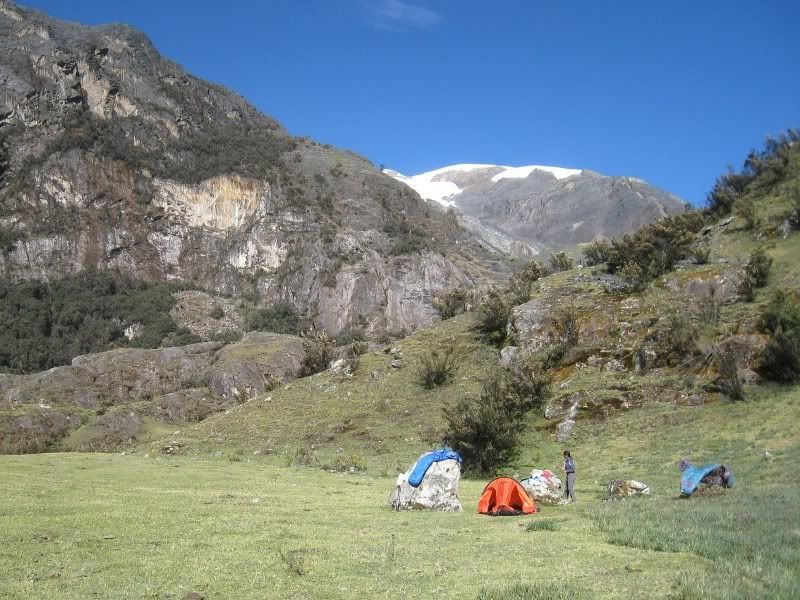
We set up the camp for the first night at an altitude of about 4000m. We chose a place a bit off the main trail since the official site was quite uneven and covered in cow pies.
(you see some interested cows in the background also)
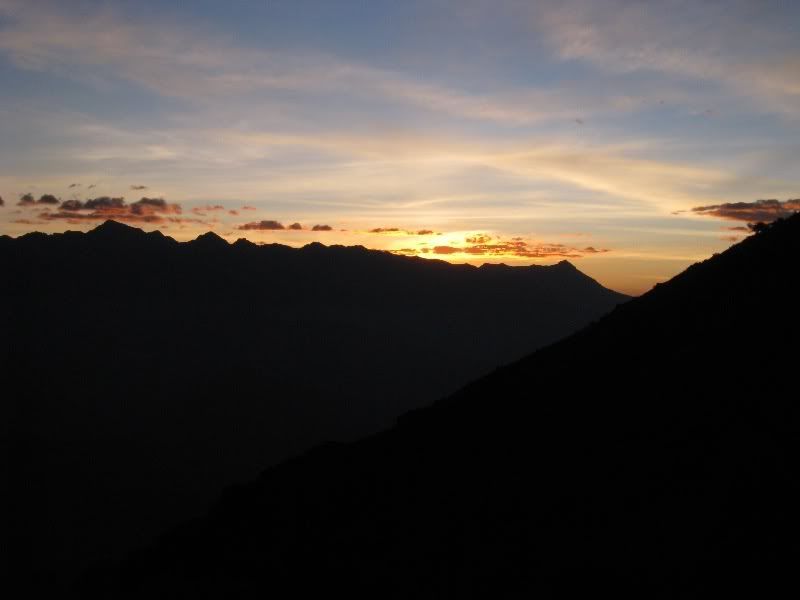
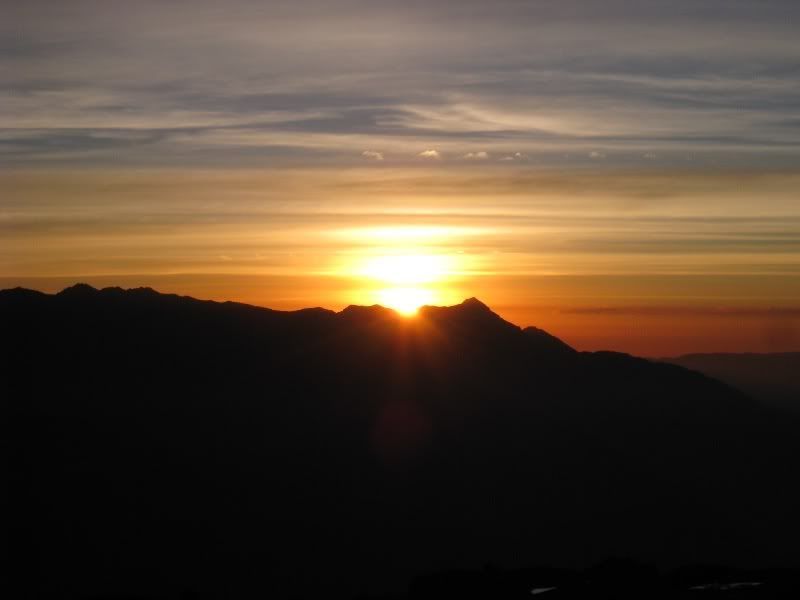
The sun sets over the Cordillera Negra.
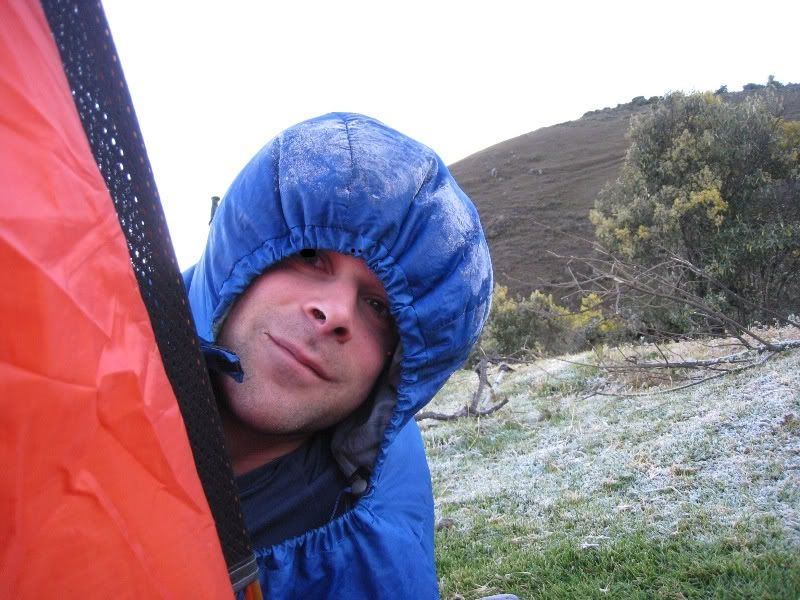
We still used the tiny tent we had from Patagonia. It´s great to save weight, but just a bit small for two people. So I slept the night outside again. The problem is that in the Cordillera Blanca the temperatures drop a few degrees below freezing and in the morning I woke up to a frozen sleeping bag. (the following nights I slept with Jaya in the tent)
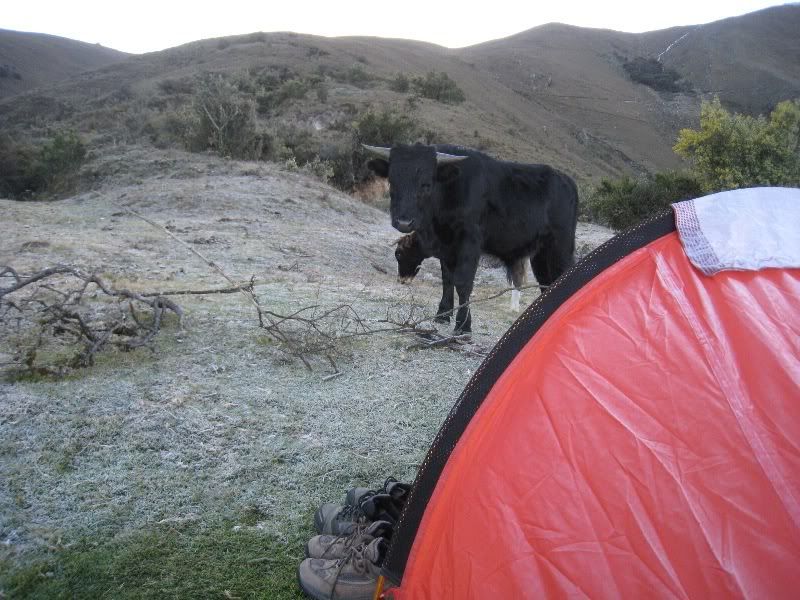
The cows kept us up for about half the night. They are just really curious animals and you know.... the grass just tastes a lot better next to our tent than somewhere else. We built something like a fence with a few branches and it helped a bit. But it was definitely not the best night we have spent camping.
Day 2: Jamacuna campsite (4000m) to Lagoon Cullicocha (4650m) - 5 hours
Next day we went up again towards the Lagoon Cullicocha.
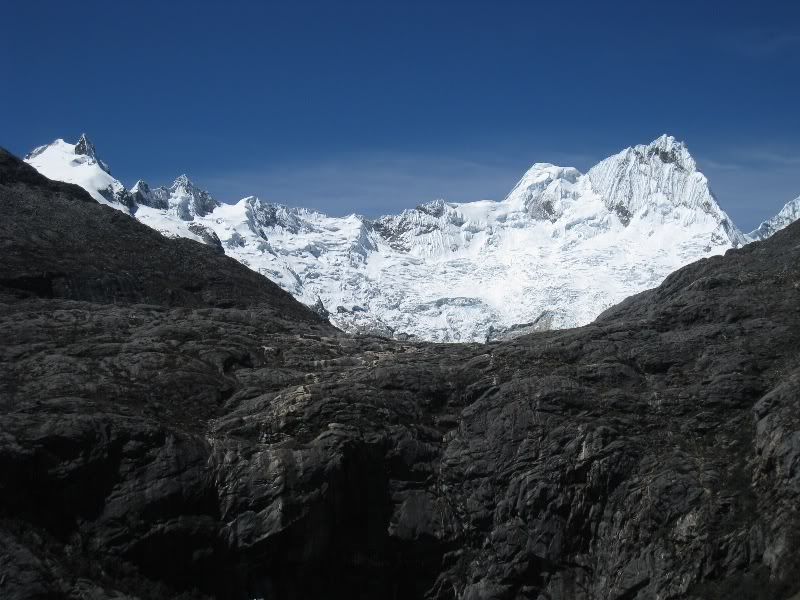
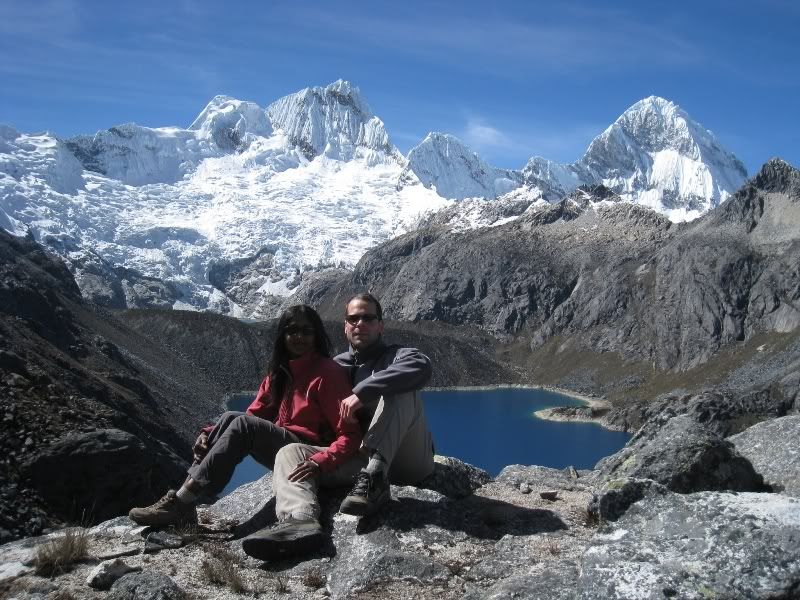
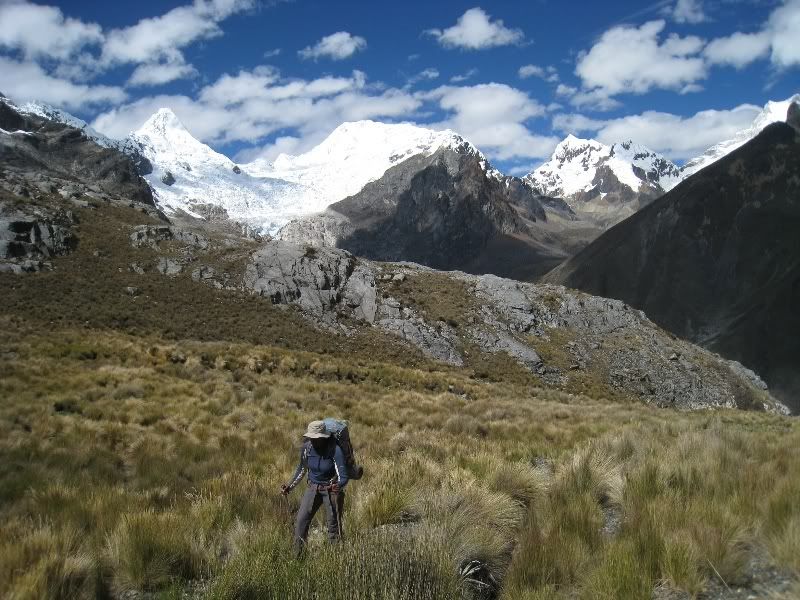
When you turn the corner you get to see your first glance of the Santa Cruz massif. And what a view it is!
We first planned to just have lunch at the lagoon, but we both felt the altitude and decided to just setup camp at this amazing site.
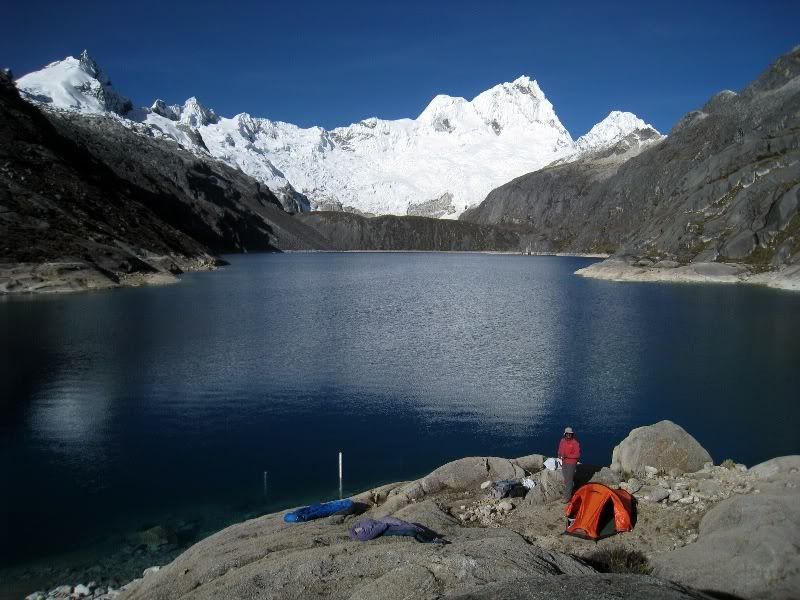
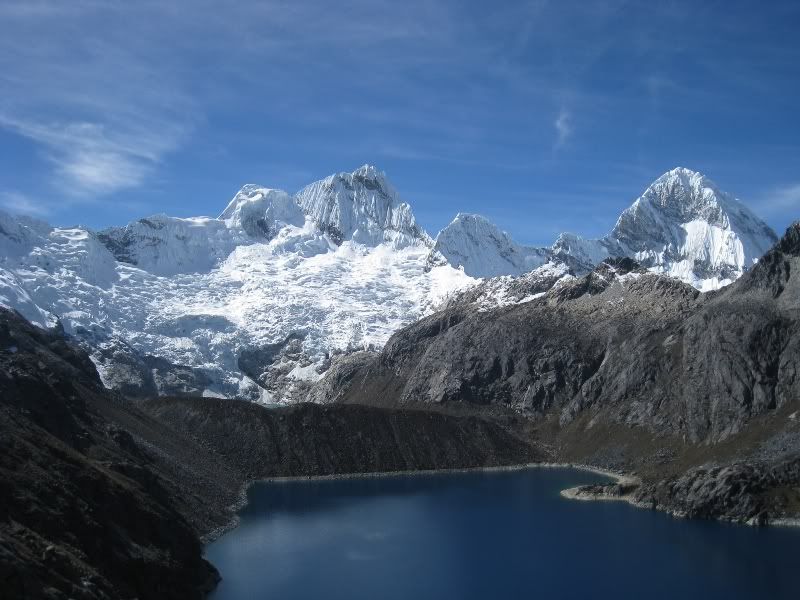
This is lagoon Cullicocha. The most prominent peak is Santa Cruz Norte (5829m) and the smaller peak to the right is Santa Cruz Chico (5800m).
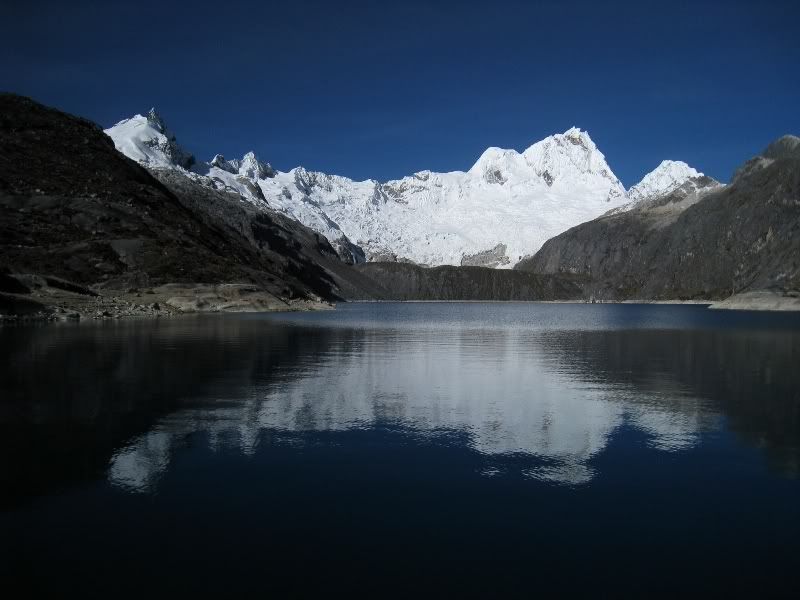
Another great sunset over the Cordillera Negra.
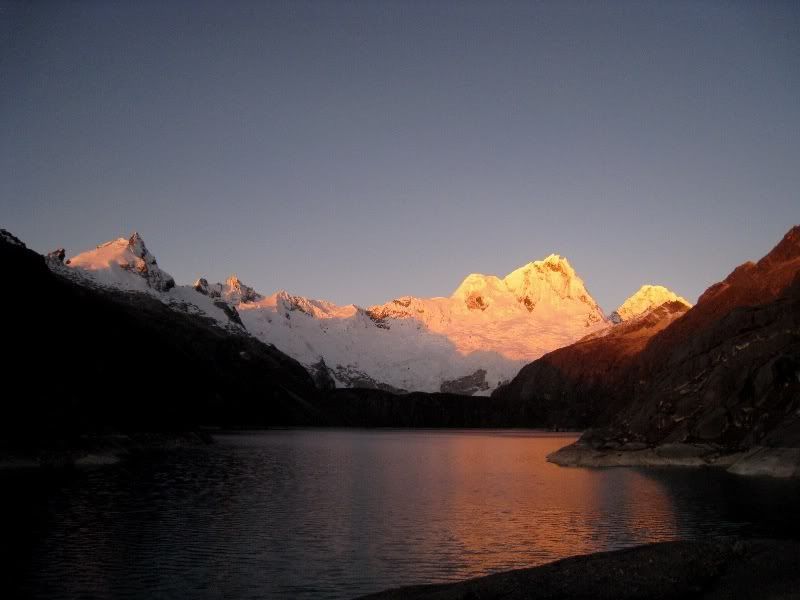
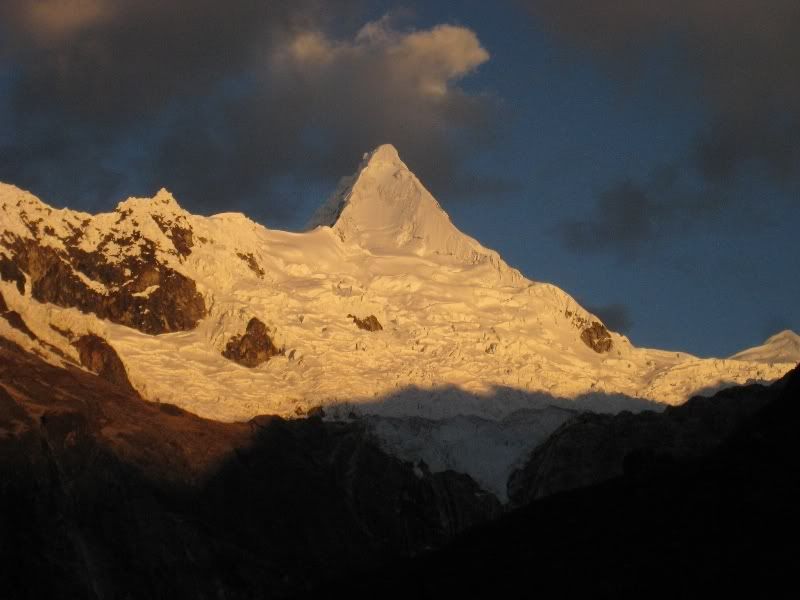
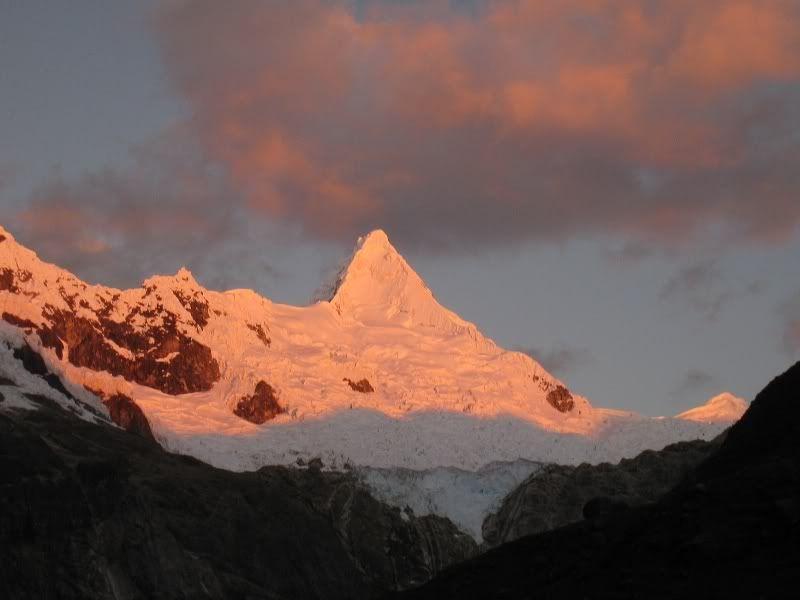
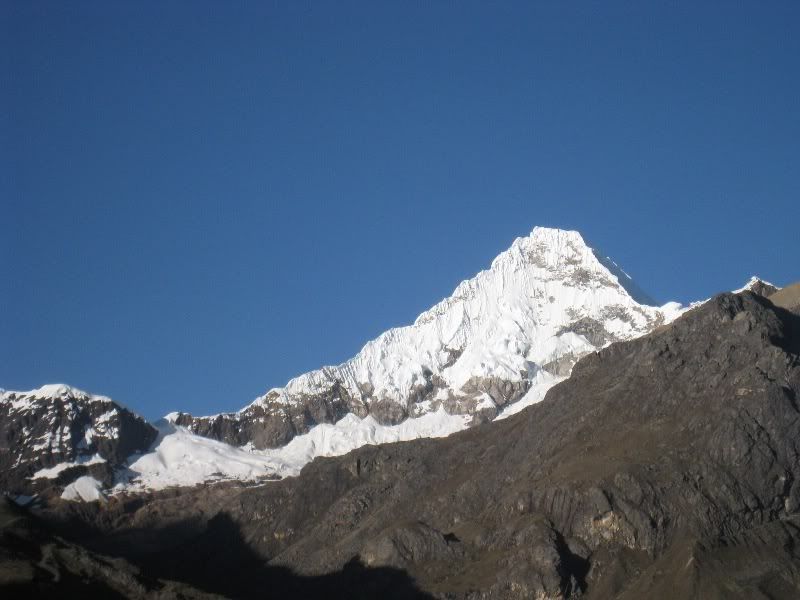
Alpenglow on the Santa Cruz massif.
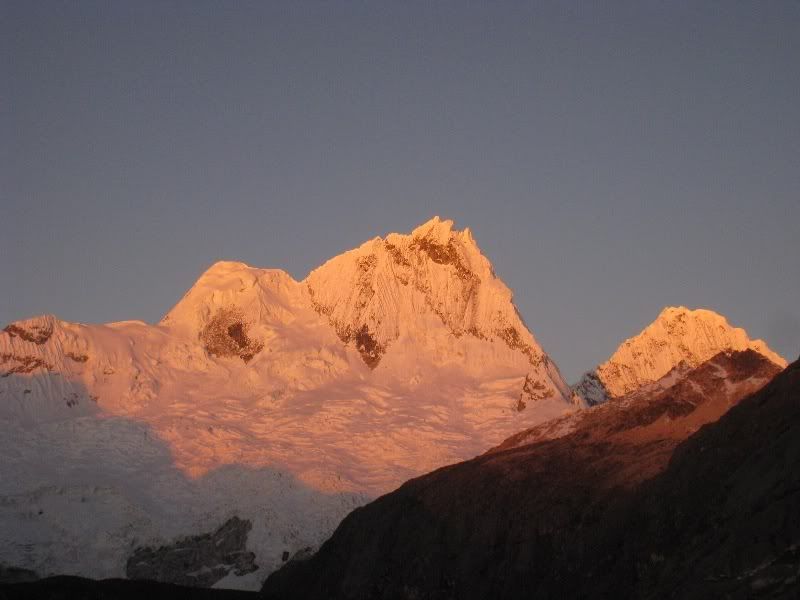
Alpenglow on Santa Cruz Norte.
Day 3: Lagoon Cullicocha (4650m), Osoruri Pass (4860m), Pass 4740m, Vientunan Pass (4760m) to Alpamayo Valley (4200m) - 9 hours
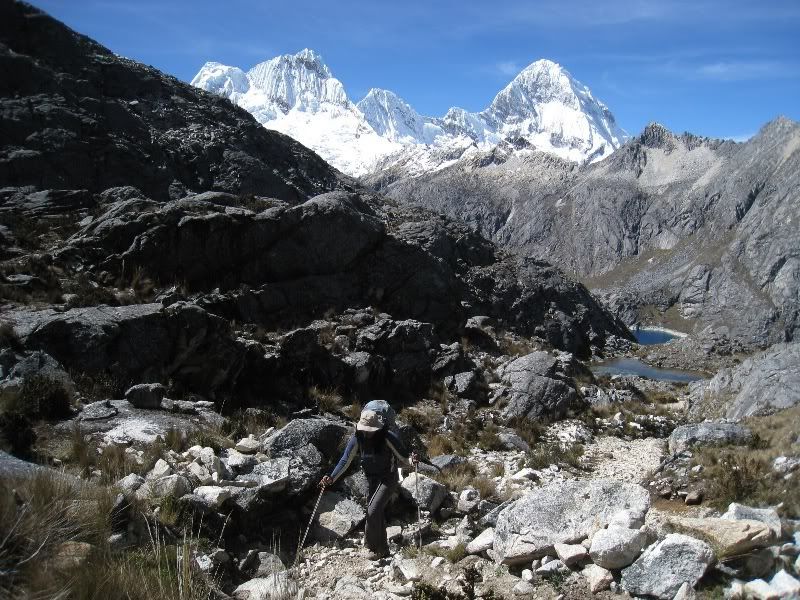
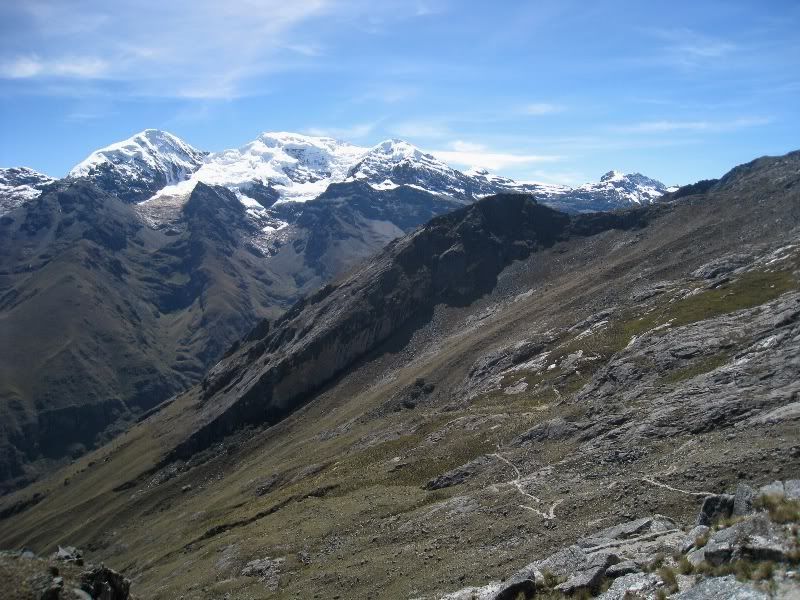
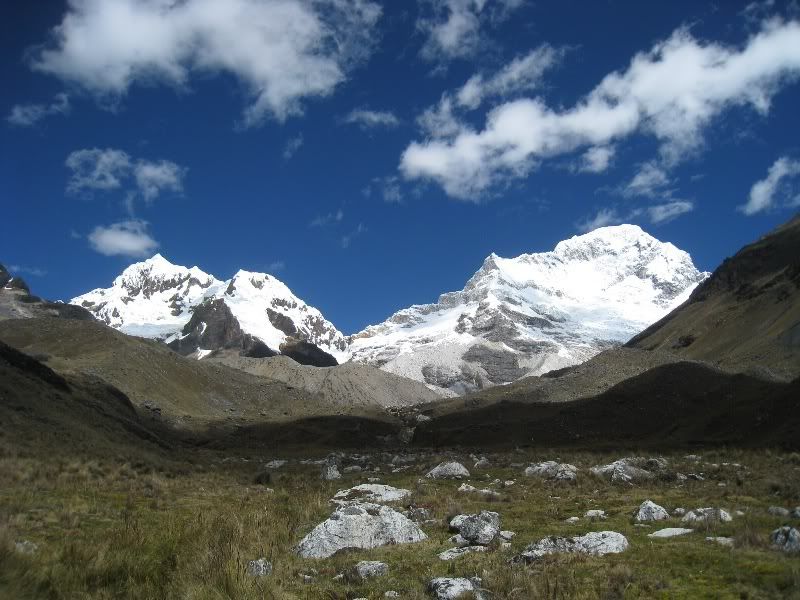
From the lagoon we climbed up towards Osoruri Pass. Finally all three of the Santa Cruz peaks are visible (from left to right Santa Cruz Norte, Santa Cruz Chico, Santa Cruz)
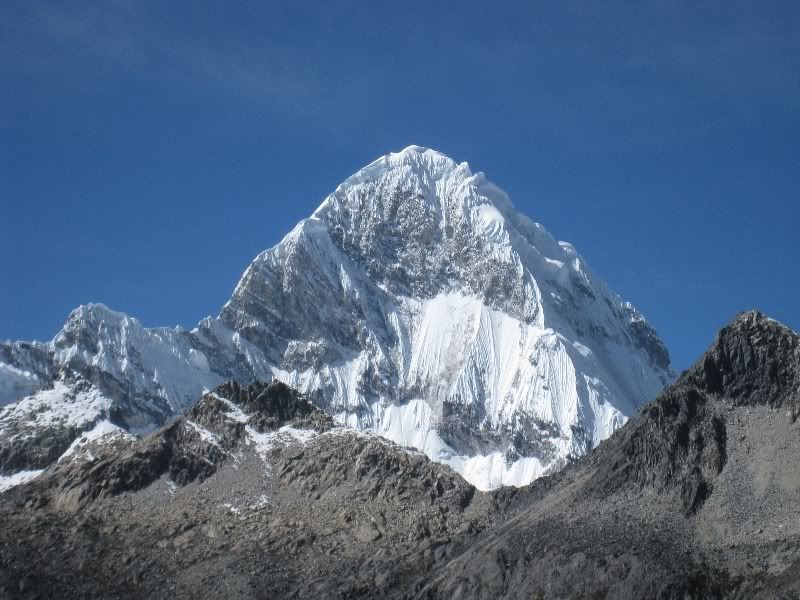
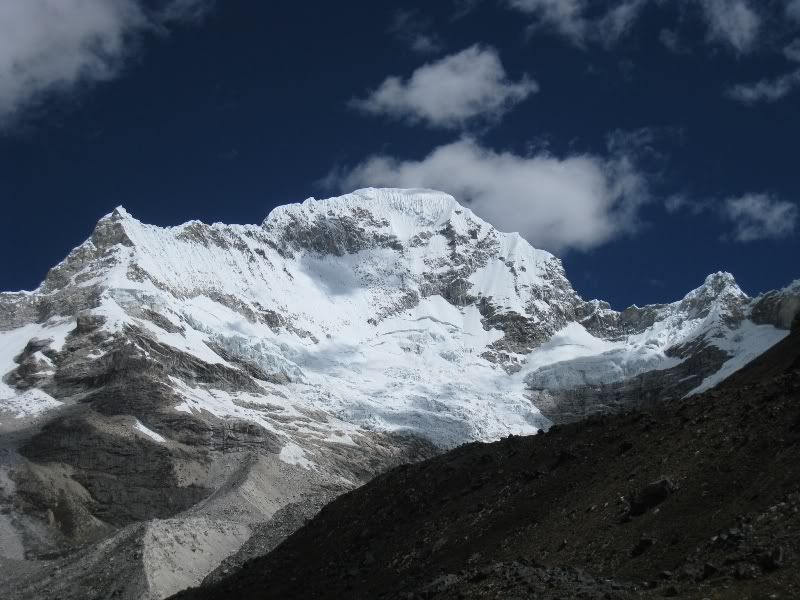
Close-up of Santa Cruz.
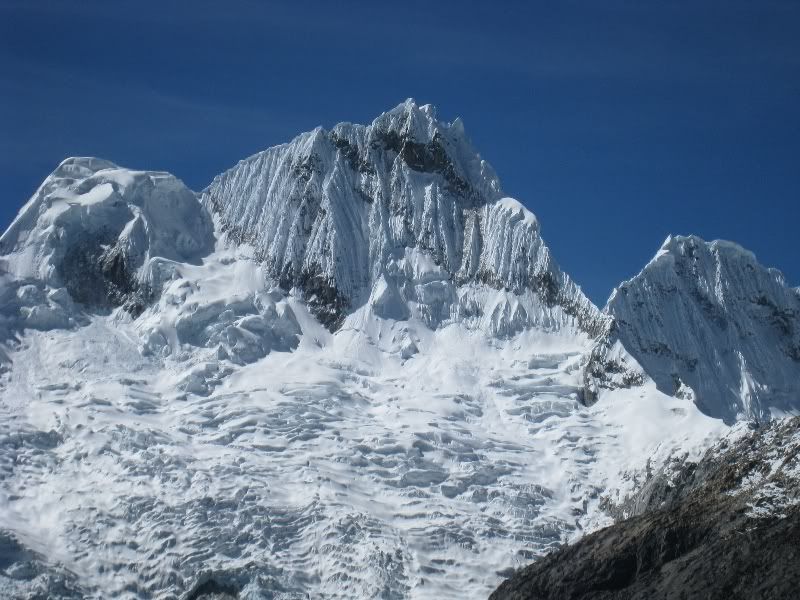
Close-up of Santa Cruz Norte.
Trying to get the last few verticals behind us on our first pass.
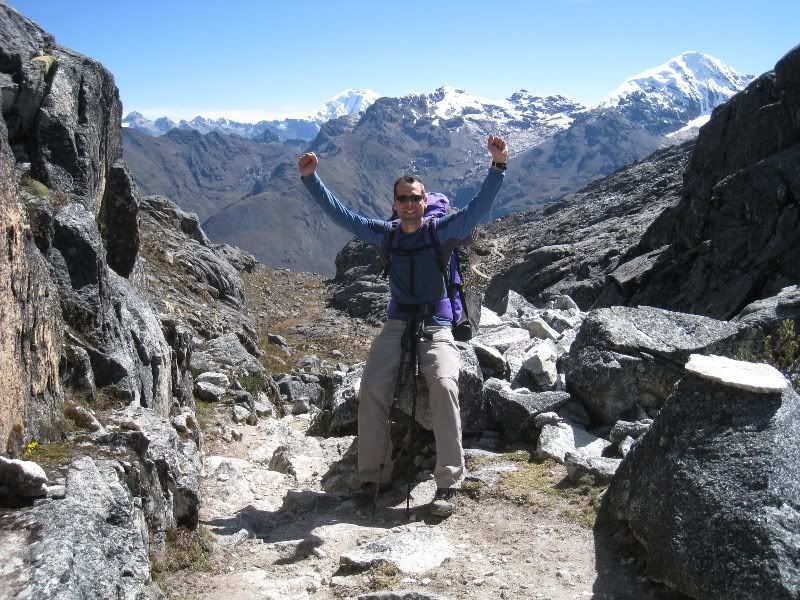
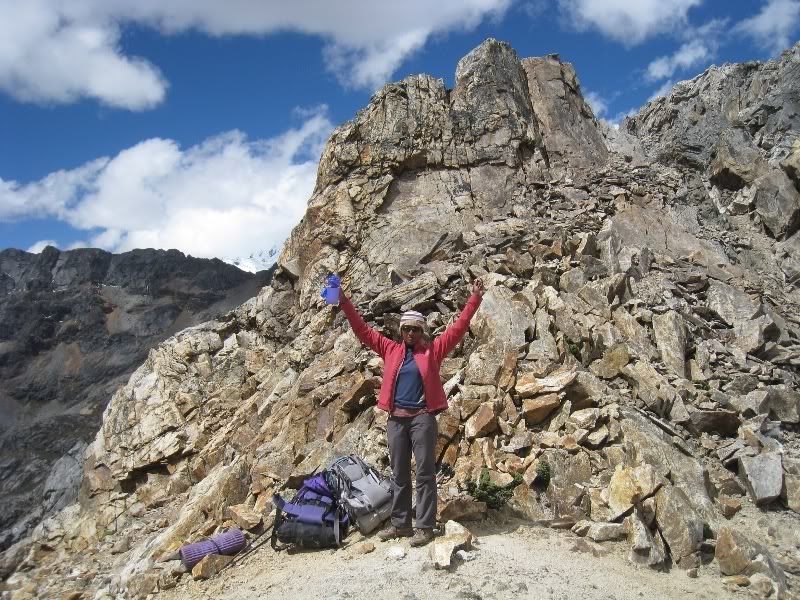
Me celebrating to have reached the highest pass (Osoruri, 4860m) on our trek.
From there it went up and down for a while before reaching the second pass at 4740m. Here it dropped down again about 300m before another steep ascent to the third pass (Vientunan, 4770m) came.
This is the view from the second pass to the third one.
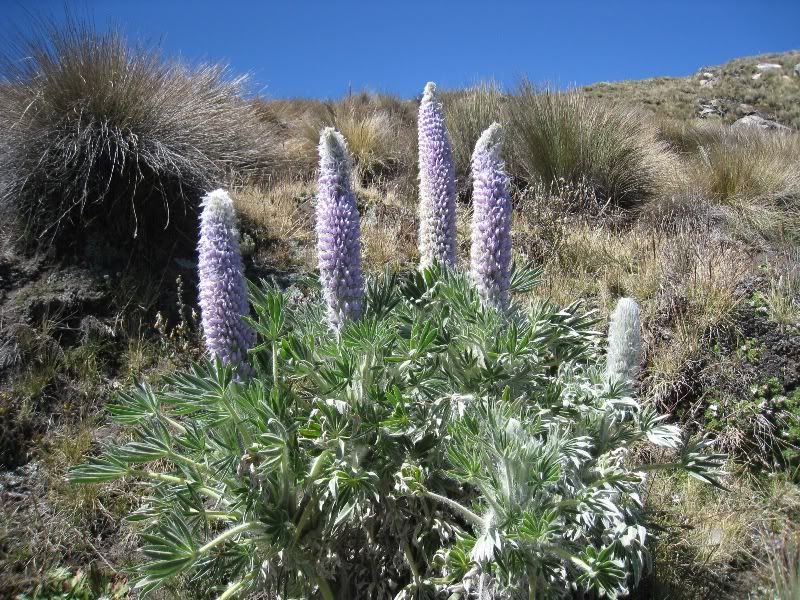
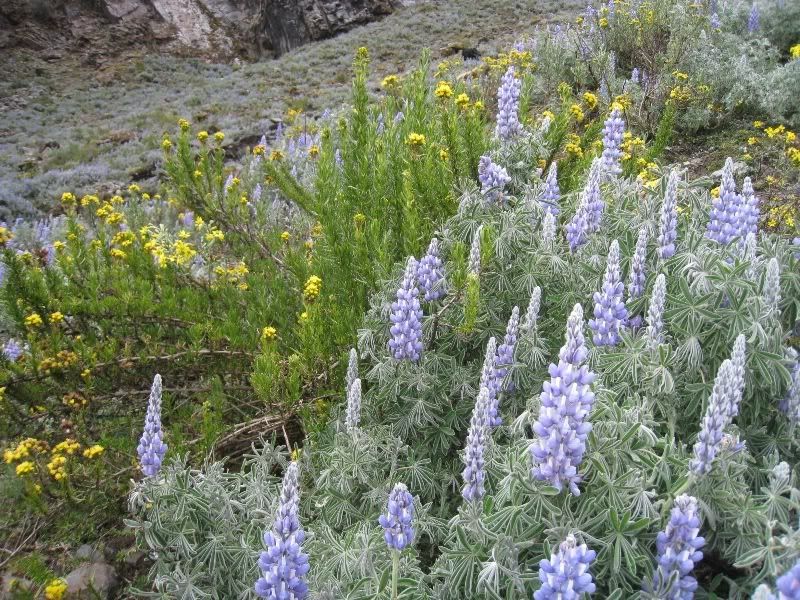
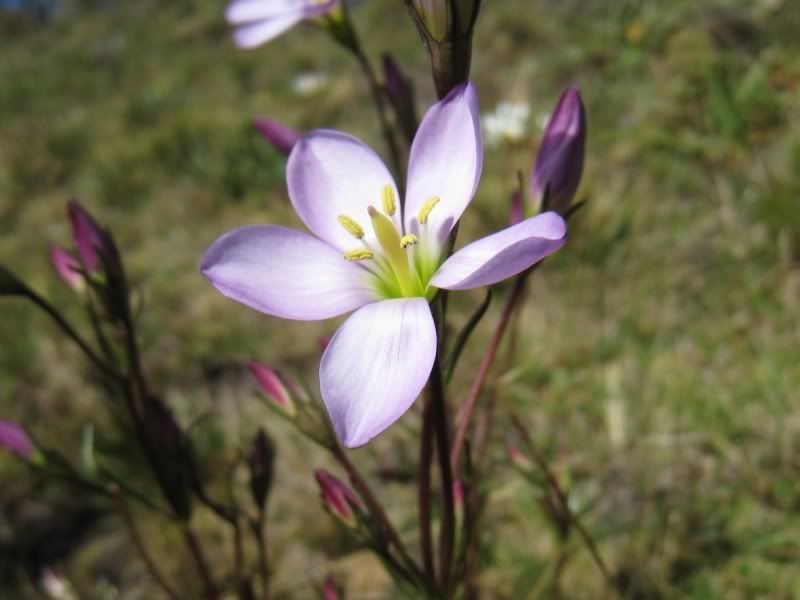
Some flowers on the way.
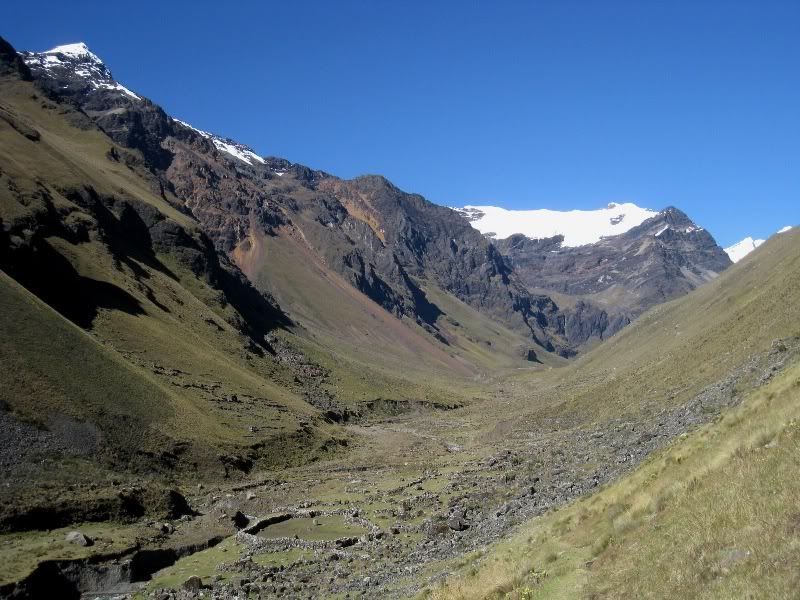
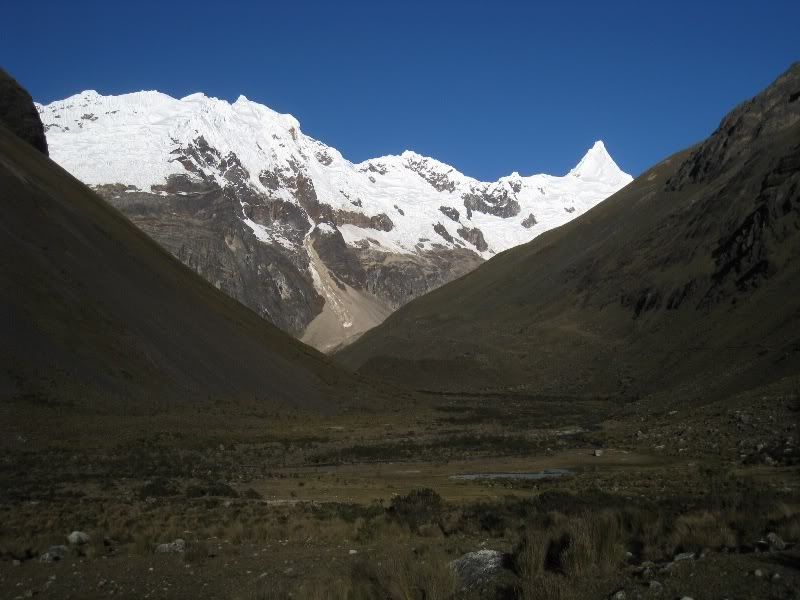
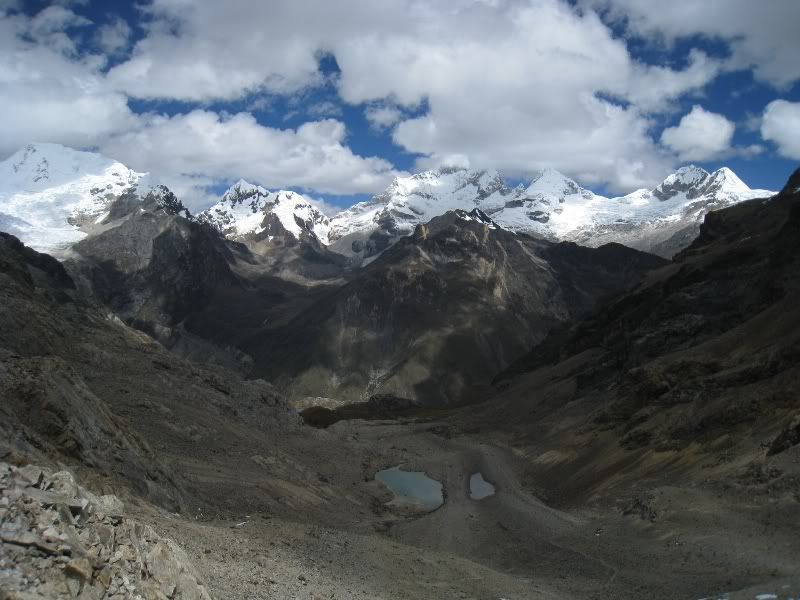
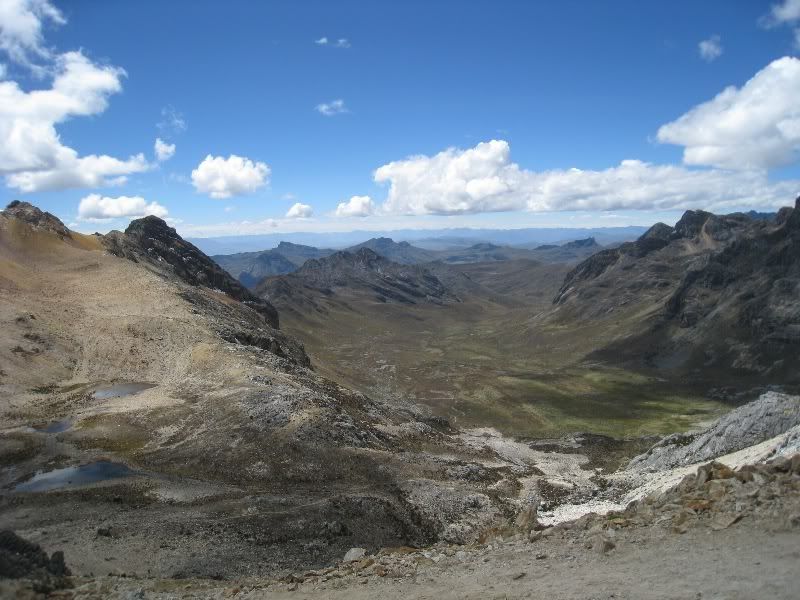
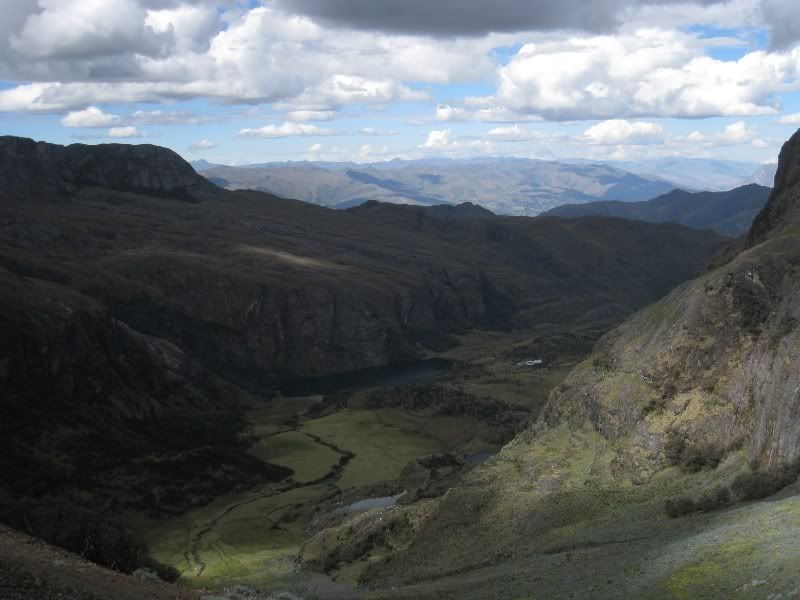
This is the view from Vientunan Pass towards the Alpamayo valley. At this point we were pretty tired from the earlier climbs and happy that for once a descent was in order. And yes, it was as steep of a descent as there can be!

Looking along the valley floor. The Pampa ruins are in the lower left of the picture.
The first time the pyramid of Alpamayo comes in sight.
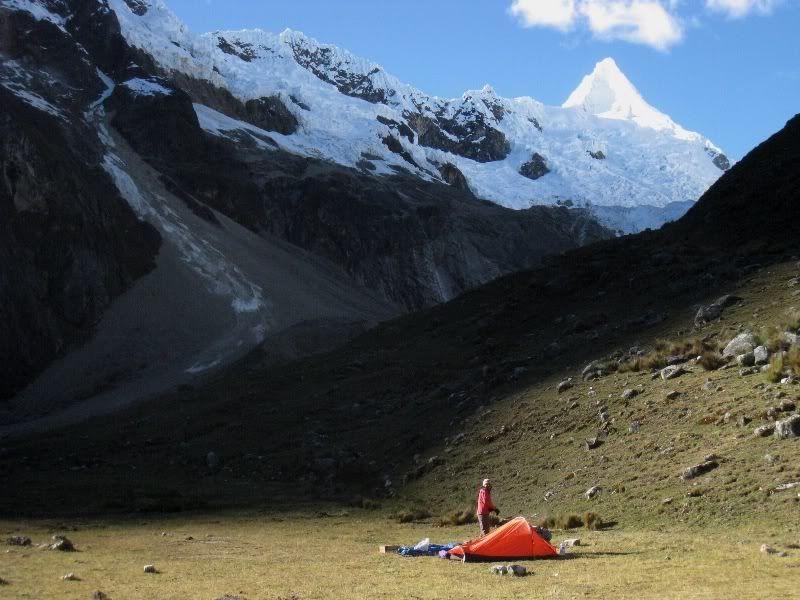
We set up camp on the valley bottom below lagoon Jancarurish.
Day 4: “Restday” – sidetrip to the Alpamayo basecamp and beyond
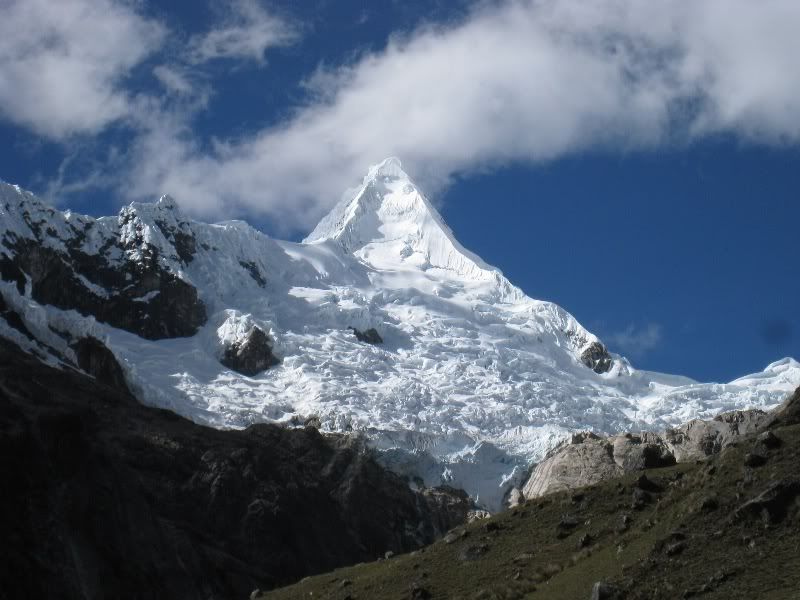
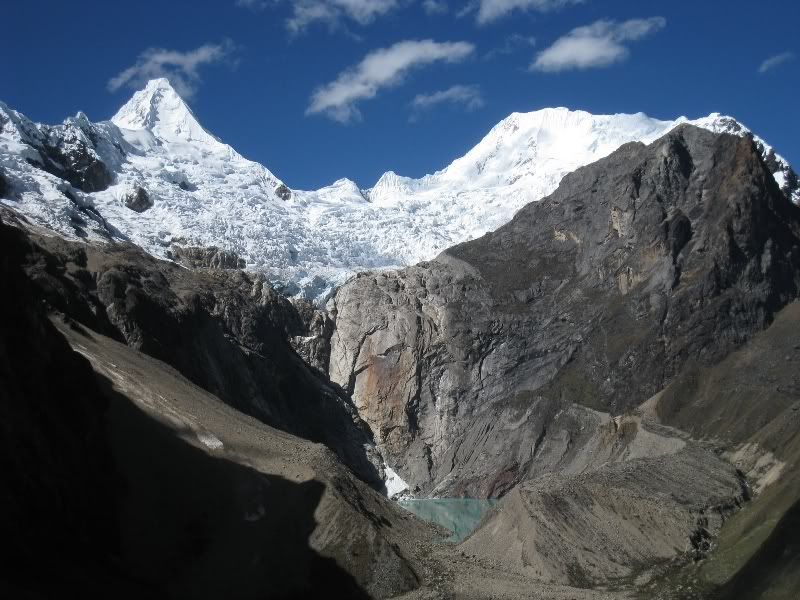
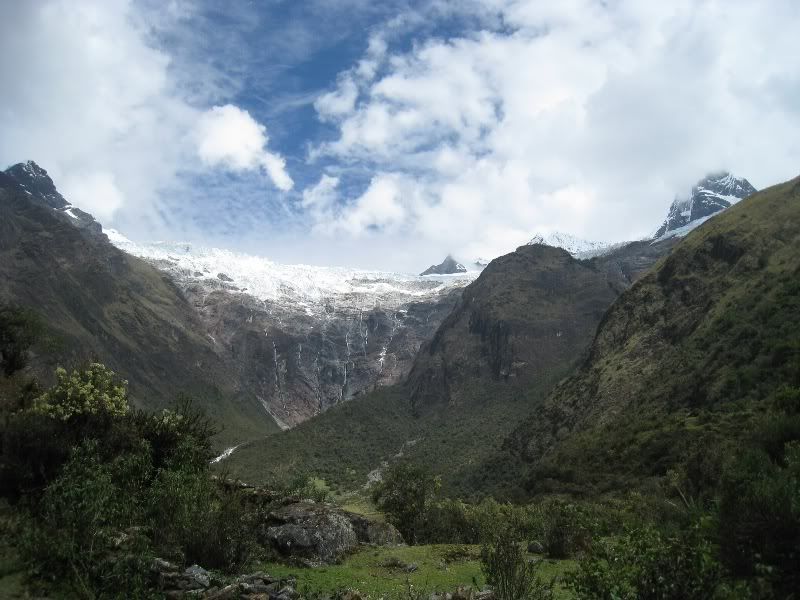
The next day we left the tent where it was and went up to the lagoon Jancarurish. Alpamayo (5947m) is sometimes referred to as “the most beautiful mountain in the world”. I think they are actually talking about the SW face of the mountain. But I think this NW face is quite nice as well.
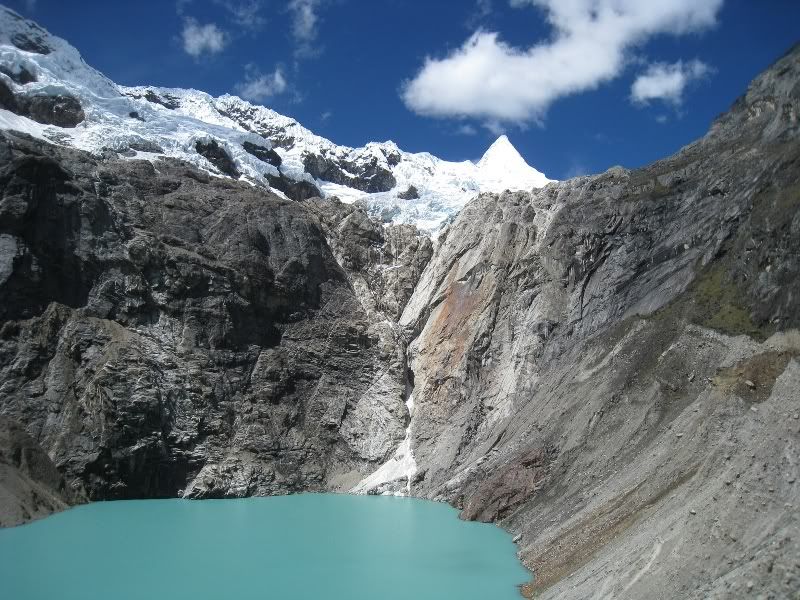
Lagoon Jancarurish
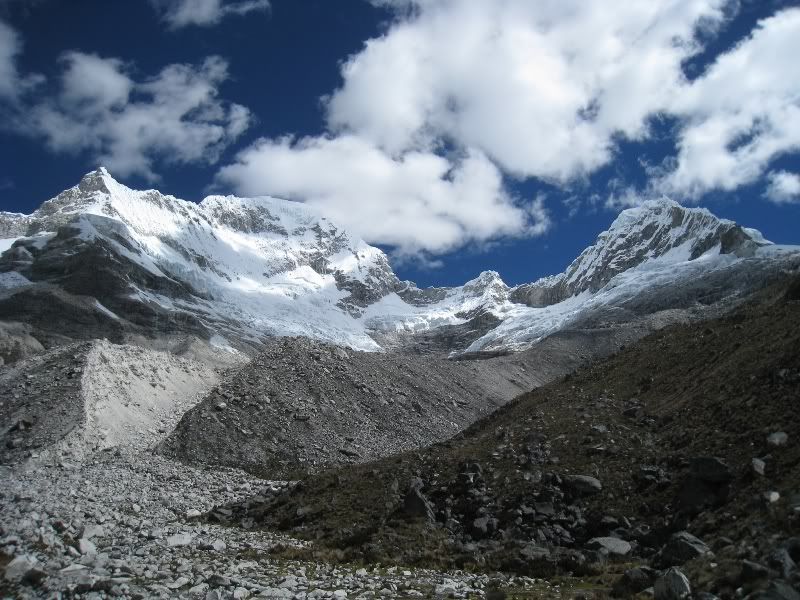
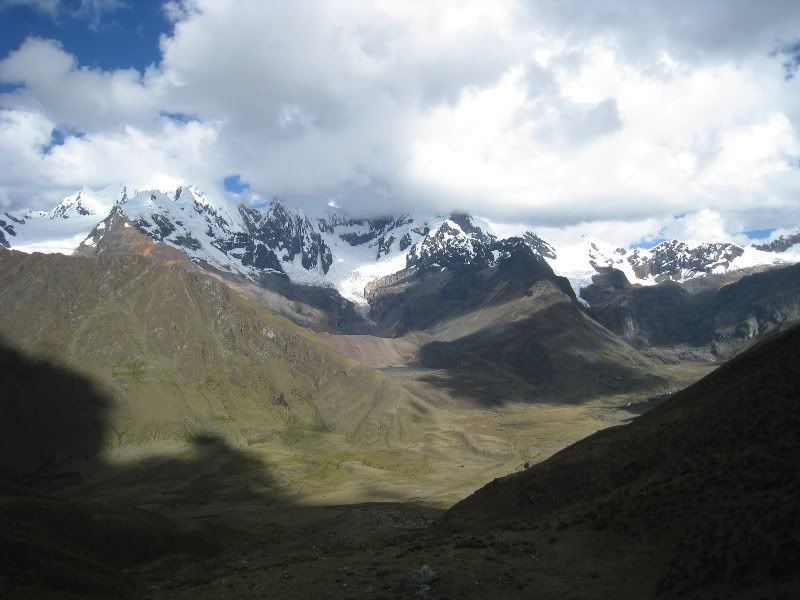
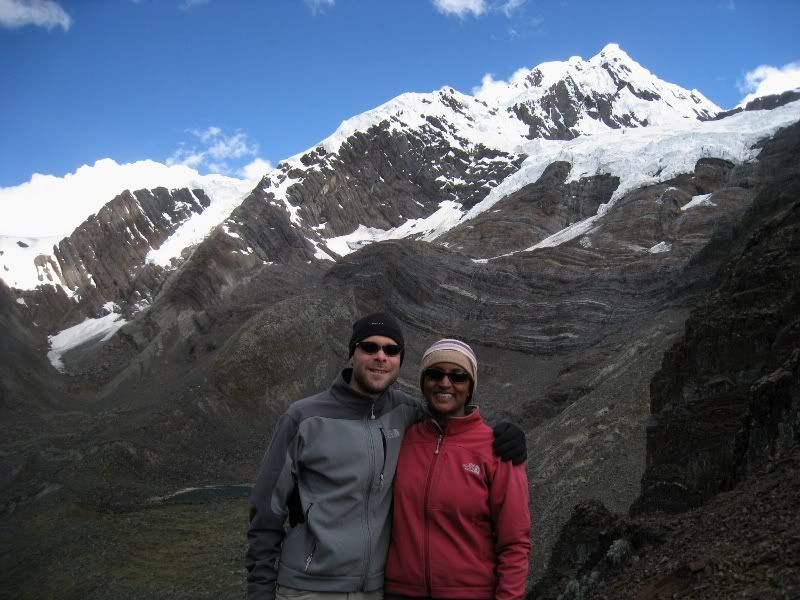
From there Jaya decided to head back to camp and actually enjoy a rest day. I went further up the valley. This is the view from Alpamayo basecamp up the valley towards Santa Cruz.
The NE face of Santa Cruz.
Here I stand just below Santa Cruz (on the left) and Santa Cruz Chico (on the right) before scrambling up the steep moraine to the first little lagoon.
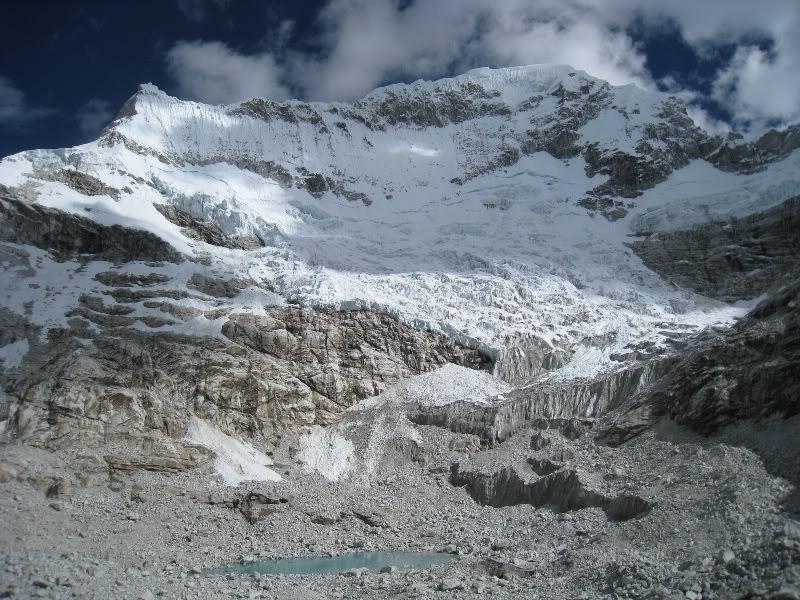
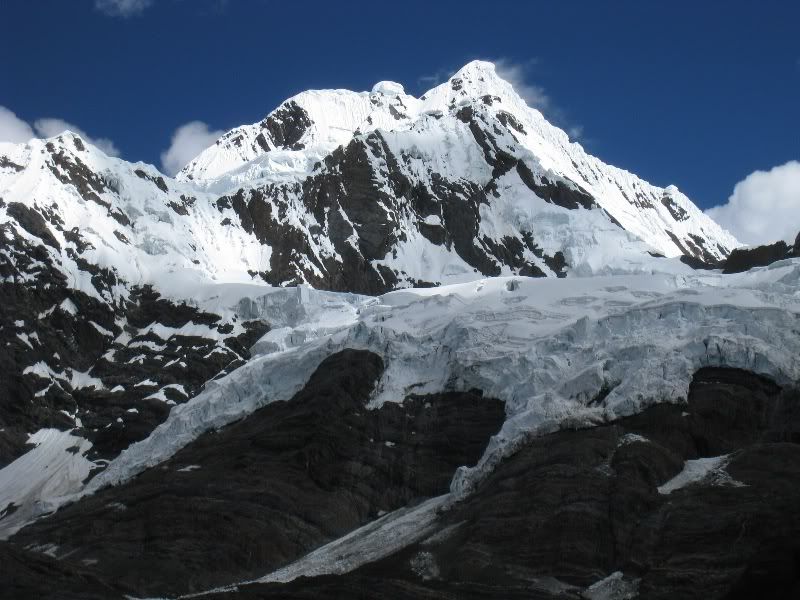
Look back from the first lagoon over to the NW face of Quitaraju.

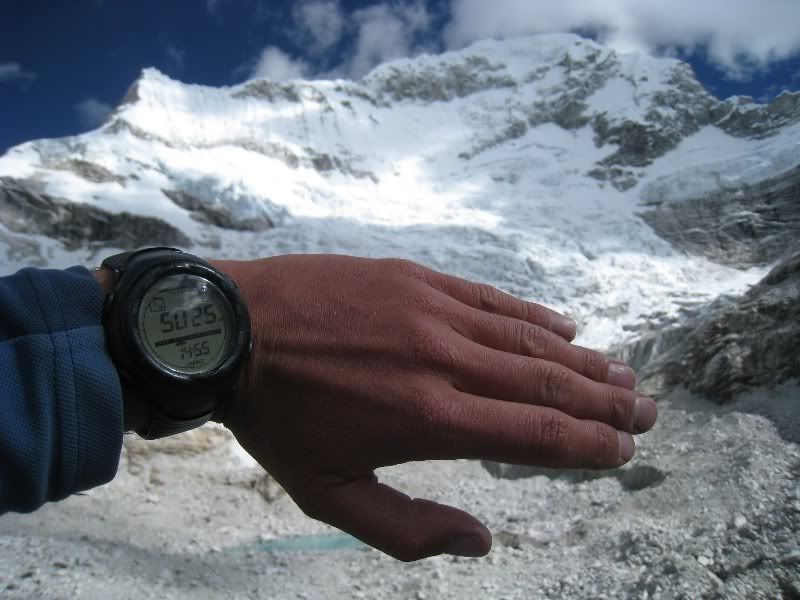
At this point I realized that I was only about 100 vertical meters away from breaking the “5000m barrier”. I was already quite exhausted from the previous days and the moraine scrambling, but decided nonetheless to push on to the second lagoon. The chance of going over 5000 meters is pretty rare in the part of the world I live.
This is the second lagoon right below Santa Cruz.
And yes, my altimeter matched the info from the topo map pretty closely.
So it turned out that the rest day was not really a rest day for me, but at least I hiked once with a small daypack instead of lugging all the gear.
The sun lit up the Alpamayo pyramid that evening quite nicely.
Day 5: Alpamayo Valley (4200m), Gara Gara Pass (4830m), Mesapata Pass (4460m) to Huillca (4000m) – 7 hours
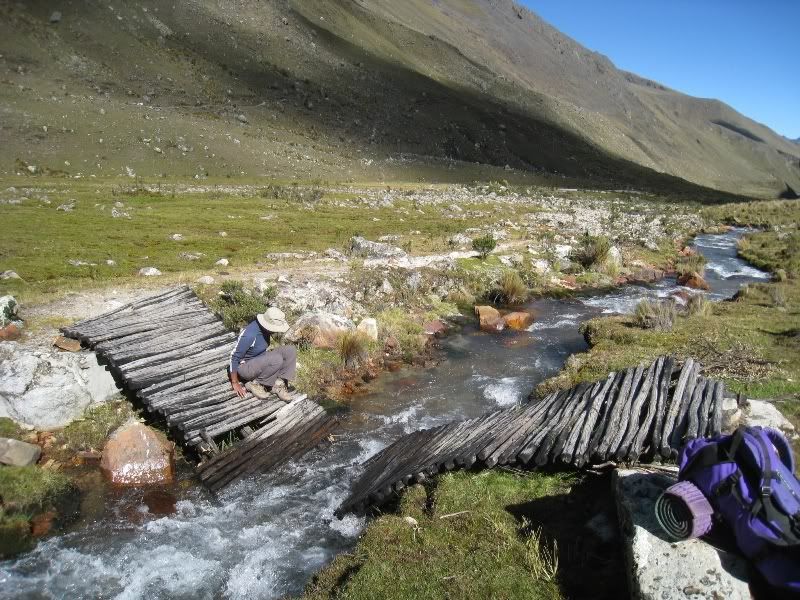
The day started up with some tricky creek crossing.
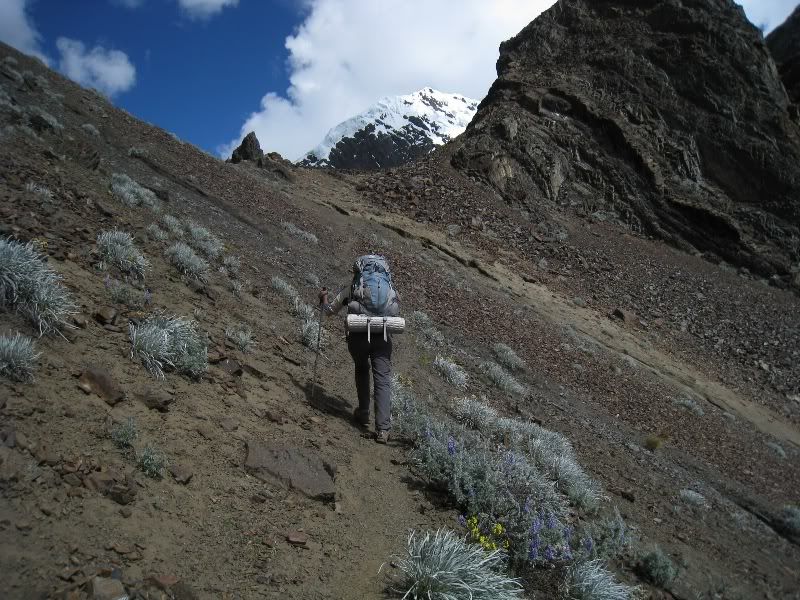
Right after breakfast another strenuous climb was in order. The trail up to the Gara Gara Pass is pretty steep in parts and you have to earn the 600m vertical the hard way.
Looking over to Alpamayo and the lagoon Jancarurish about 1/3 up.
And further up we go.
Last look at the NW face of Alpamayo. To the right you can see the valley were the Alpamayo basecamp is (however most climbers use the one on the east side in the Santa Cruz valley) and where we went for the side trip.

Jaya celebrating on top of Gara Gara pass (4830m) on having another hard climb behind us.
Look back into the Alpamayo valley from Gara Gara pass.
Look forward from Gara Gara pass.
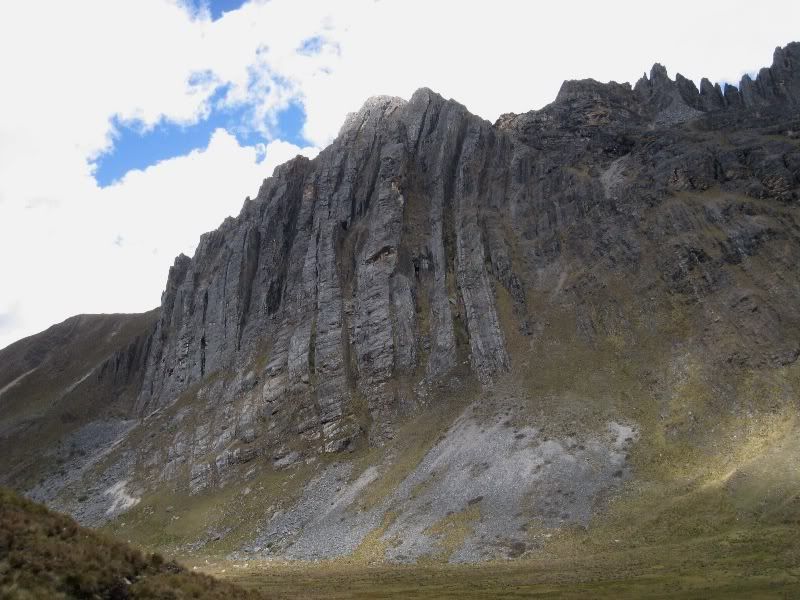
Some cool looking rocks on the way.
Last climb for the day; for once it is a relatively easy one with a gentle slope.
Look from Mesapata pass (4460m) towards the Pucajirca peaks.
We setup camp for night 5 in the Tayapampa valley just a bit before the small village of Huillca.
North face of Alpamayo
Day 6: Huillca (4000m), Yanacon pass (4610m) to lagoon Sactaycocha (4060m) – 6 hours
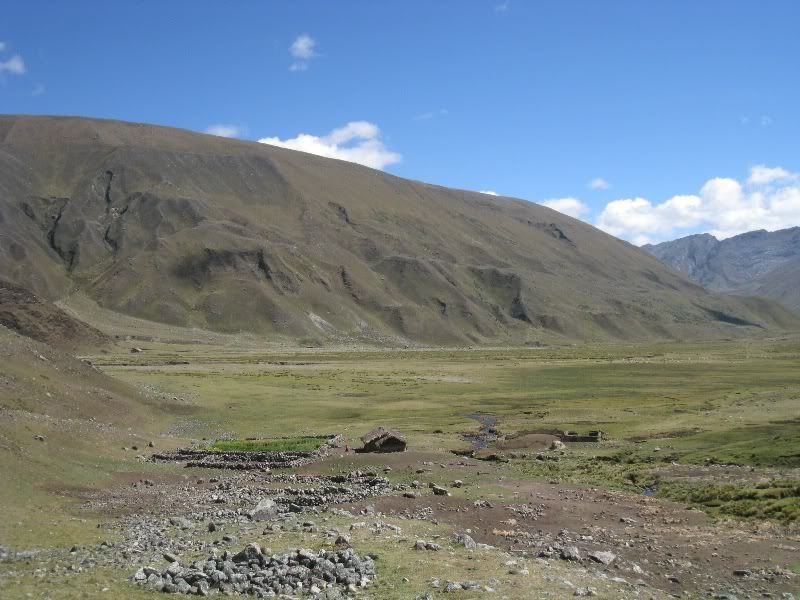
Looking down the Tayapampa valley towards Huillca.
Walking past the small village of Huillca. There are basically just two or three houses.
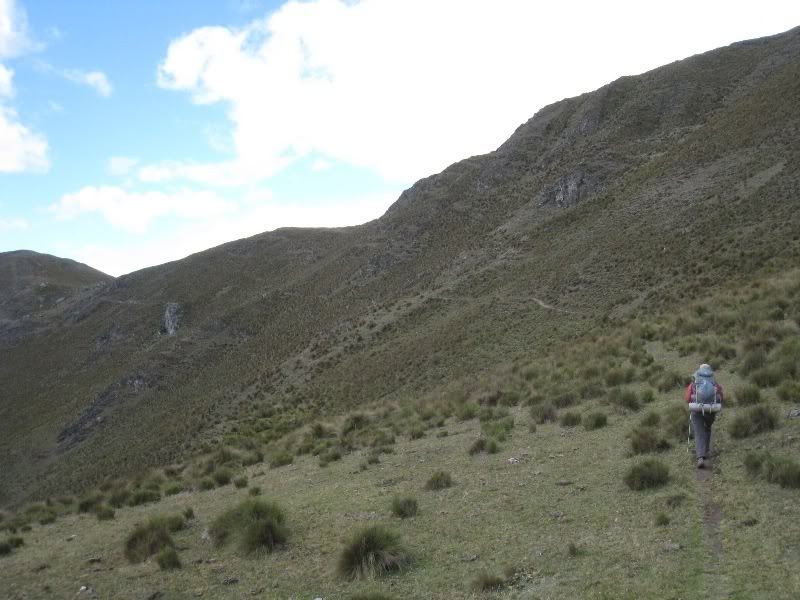
Hiking up to the Yanacon pass (4610m).
The climb was another steep one; sometimes you just follow some cow trails. But at least now our packs were a bit lighter on day 6.
We are happy that we made the last pass. We felt that trekking 6 high passes in as many days with carrying all your gear was quite an accomplishment.
Close-up of some of the Pucajirca glaciers.
Look down to the Sactaycocha lagoon.
Some flowers during the descent.
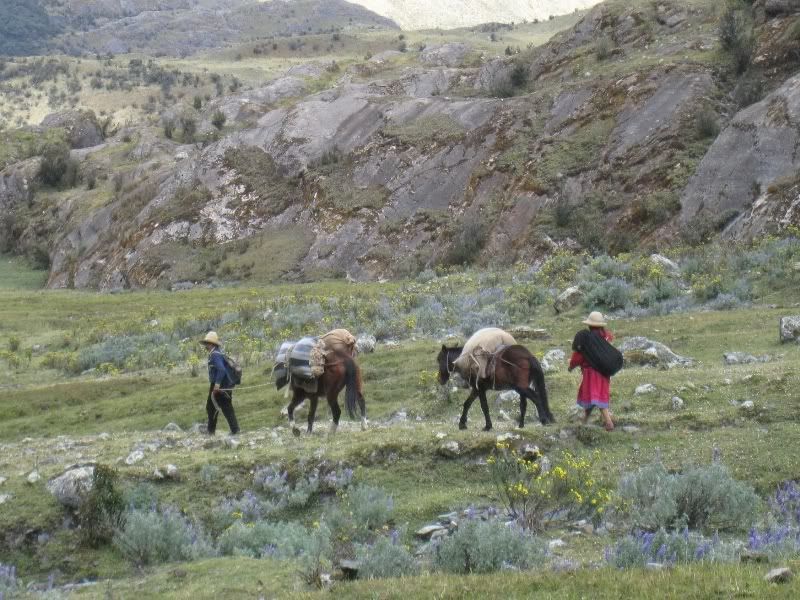
This area is extremely remote and the locals get most of their supplies by hiking 2 days with mules and donkeys.
Our camp for night 6 a short distance above Sactaycocha lagoon.
Day 7: Lagoon Sactaycocha (4060m) to Pomabamba (2950m) – 5 hours
The last day would have been a relatively easy hike out. However I got confused by one of the many cow trails criss-crossing our path and we ended up bushwhacking our way back to the main trail for about an hour.
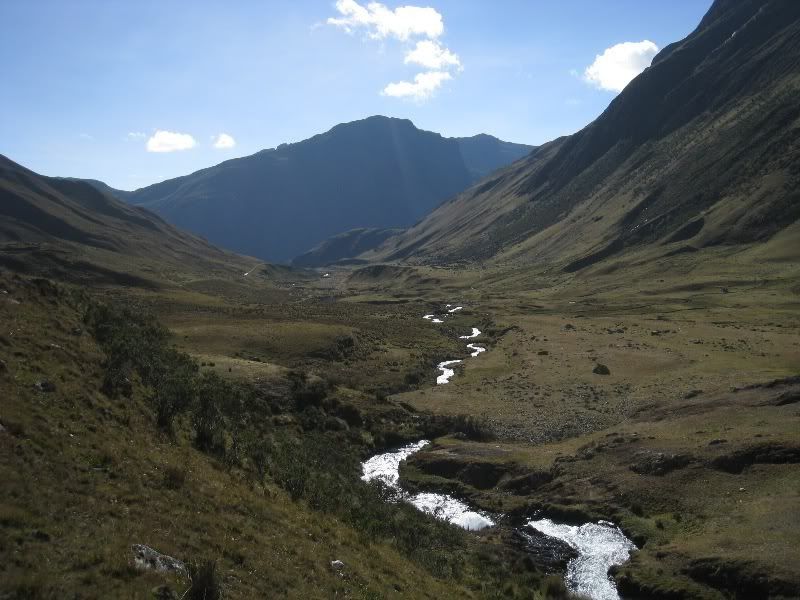
Looking up the Janca pampa valley towards the Pucajirca massif.
Looking down the Janca pampa valley.
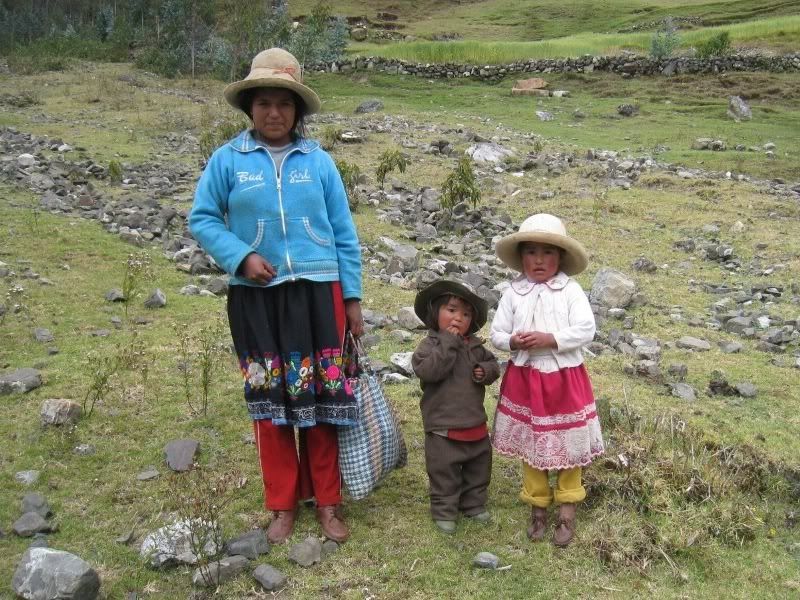
It´s always good to have a few things with you in case you meet local kids. Candies are probably not the best thing to distribute, but it was the only thing we had with us. (best probably would be to carry some extra pasta or bread with you, but our packs were already heavy enough)
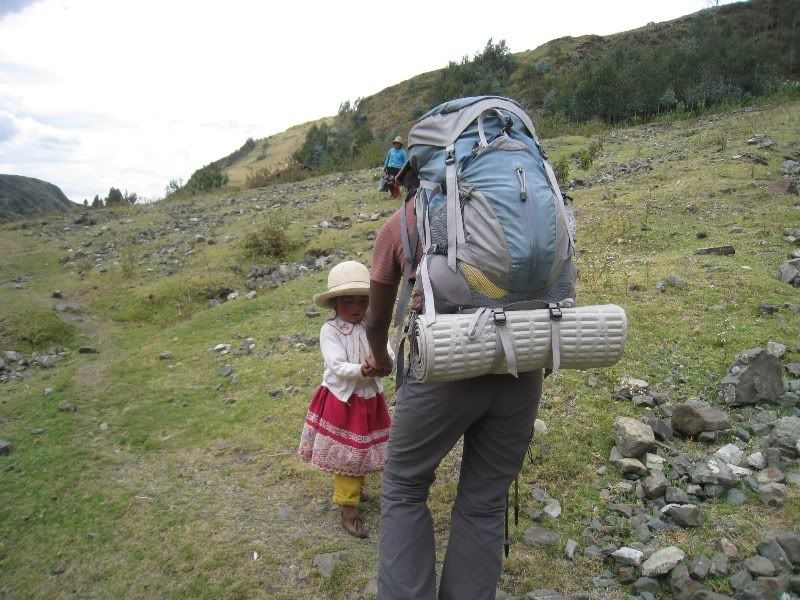
At first we thought that is their older sister. However it turns out she is actually the children’s mother!
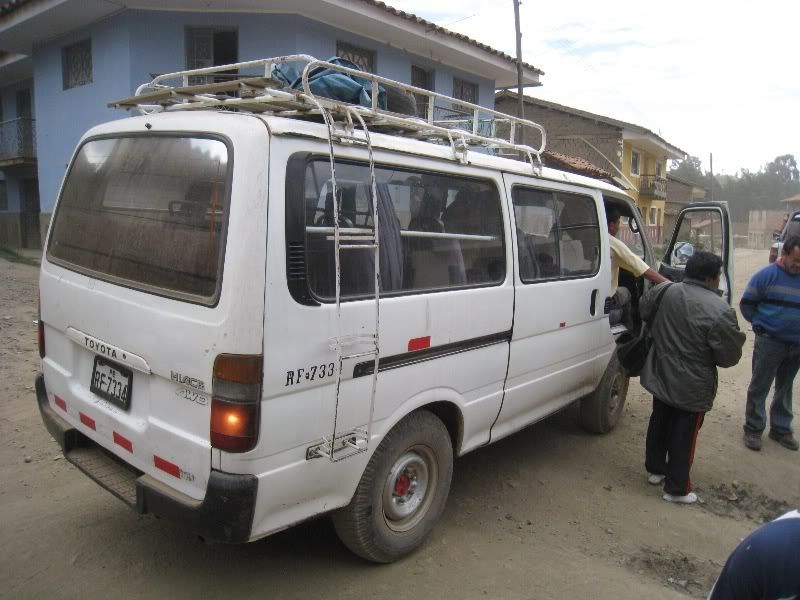
Then a local in the town of Jancapampa talked us into coming along for the ride with the collectivo instead of walking out the last 2 hours. So we squeezed us like sardines in this minivan and went for a bumpy ride along death defying slopes. We had about 20 people inside the van and also had 3 guys sitting on the roof. Even though we were very tired at this point we still would have preferred to properly hike all the way out. But hey ... it got us finally to the town of Pomabamba.
We heard about the thermals in Pomabamba and were dreaming about relaxing thermal pools at the end of our trek. It turns out that these are pretty much just public showers with thermal water. However they are building a new facility now, so you might get lucky when you go there in a few years.
Day 8 : Bus ride from Pomabamba to Huaraz – 9 hours
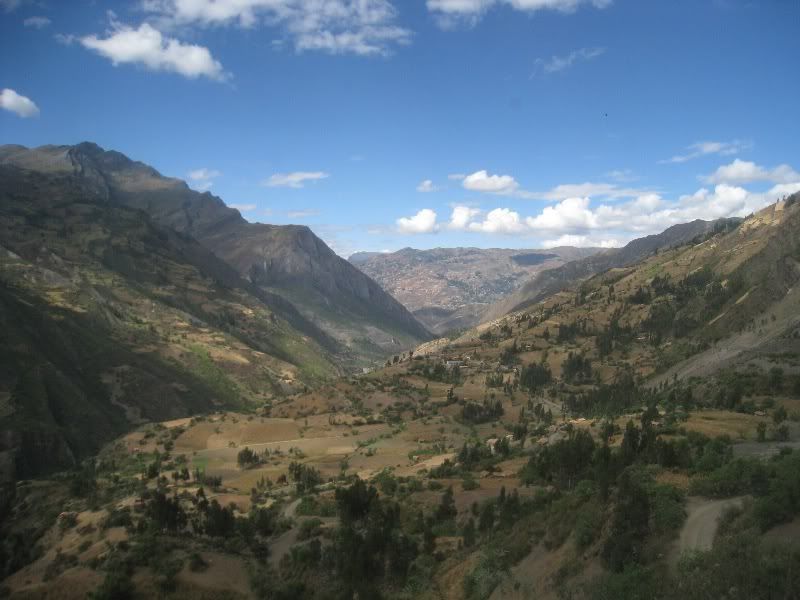
A bumpy bus ride through some spectacular scenery brings you back to Huaraz.
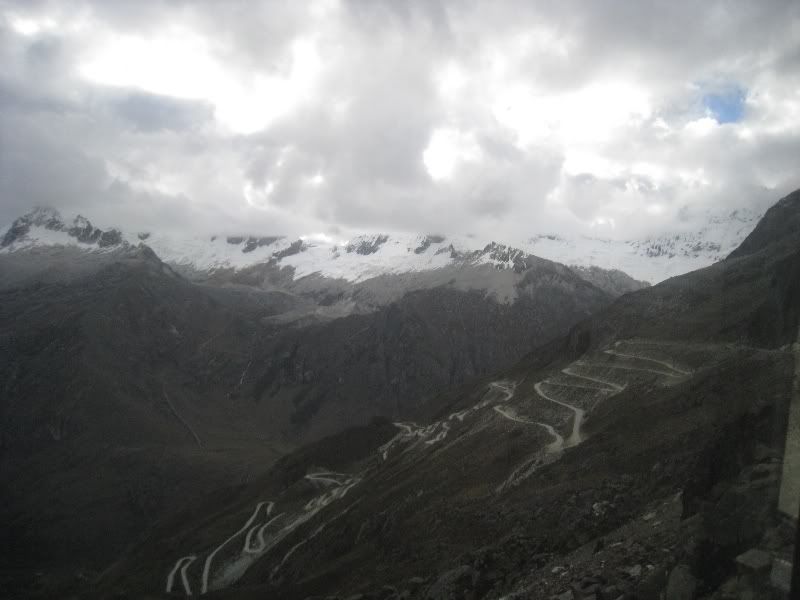
You just have to have some faith in your bus driver to bring you in one piece across the Portachuelo pass.
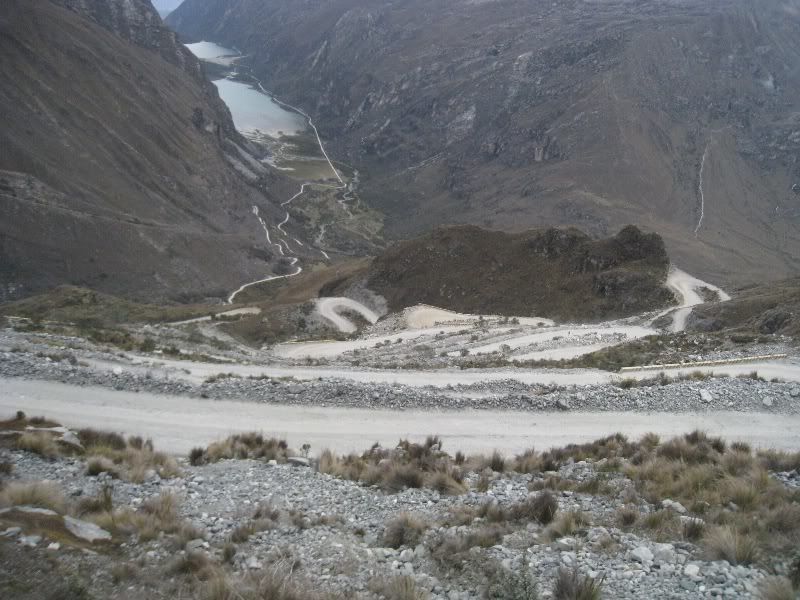
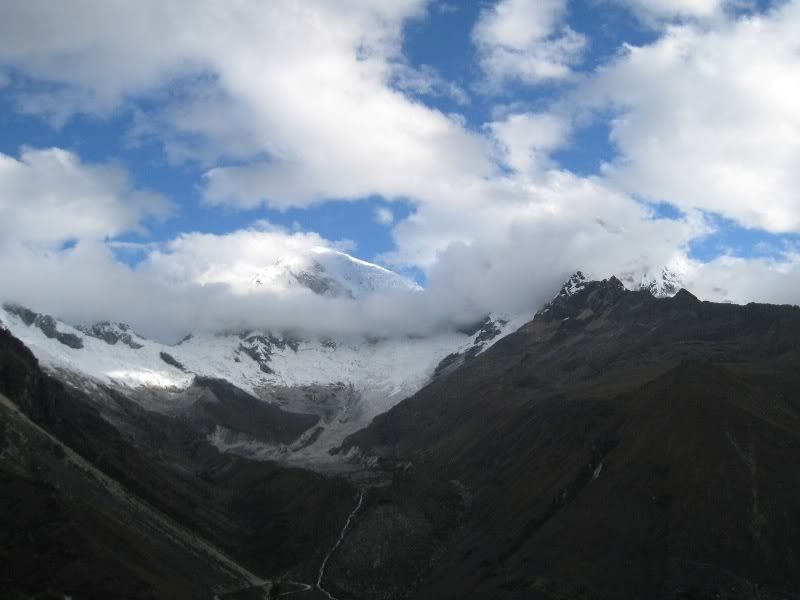
Unfortunately we had quite some low hanging clouds that day. These are the north faces of the Huascaran peaks; but it just wasn´t the best time to shoot great pictures.
This was an extremely satisfying trek that brings you across some amazing scenery. In case you like hiking through some remote mountain valleys it can be highly recommended. We only met a few other groups during this week long trek.
And here again our route:
Best online maps are found under this link: http://maps.live.com/default.aspx?v=2&cp=-18.39623%7E-61.523438&style=r&lvl=3&tilt=-90&dir=0&alt=-1000&cid=2CF1823075161E3B%21106&encType=1 or check the simple Google map below. (yellow marker indicates current location and blue is what is covered in the blog)